
Wedding welcome board sizes and printer checklist
Choose the display position and printing method before you order your wedding welcome-board artwork. An entrance board on an easel and a retractable standee need different layouts, materials and fitting allowances, even when they carry the same message.
Start with the size examples below, then ask your printer for the exact template. At 3VIDEO, we supply digital artwork. Printing, the physical board, display stand and installation are arranged separately.
Contents
2 Check the artwork proportions
3 Confirm the printer requirements
5 Review the final file and choose a design
1 Choose a size for the space
Measure where the sign will stand and leave room for guests to pass. Check the board and easel together, including the legs or base. Keep doorways, steps and exits clear. For an outdoor entrance, ask the printer and decorator about the material, support and wind conditions before choosing the display.
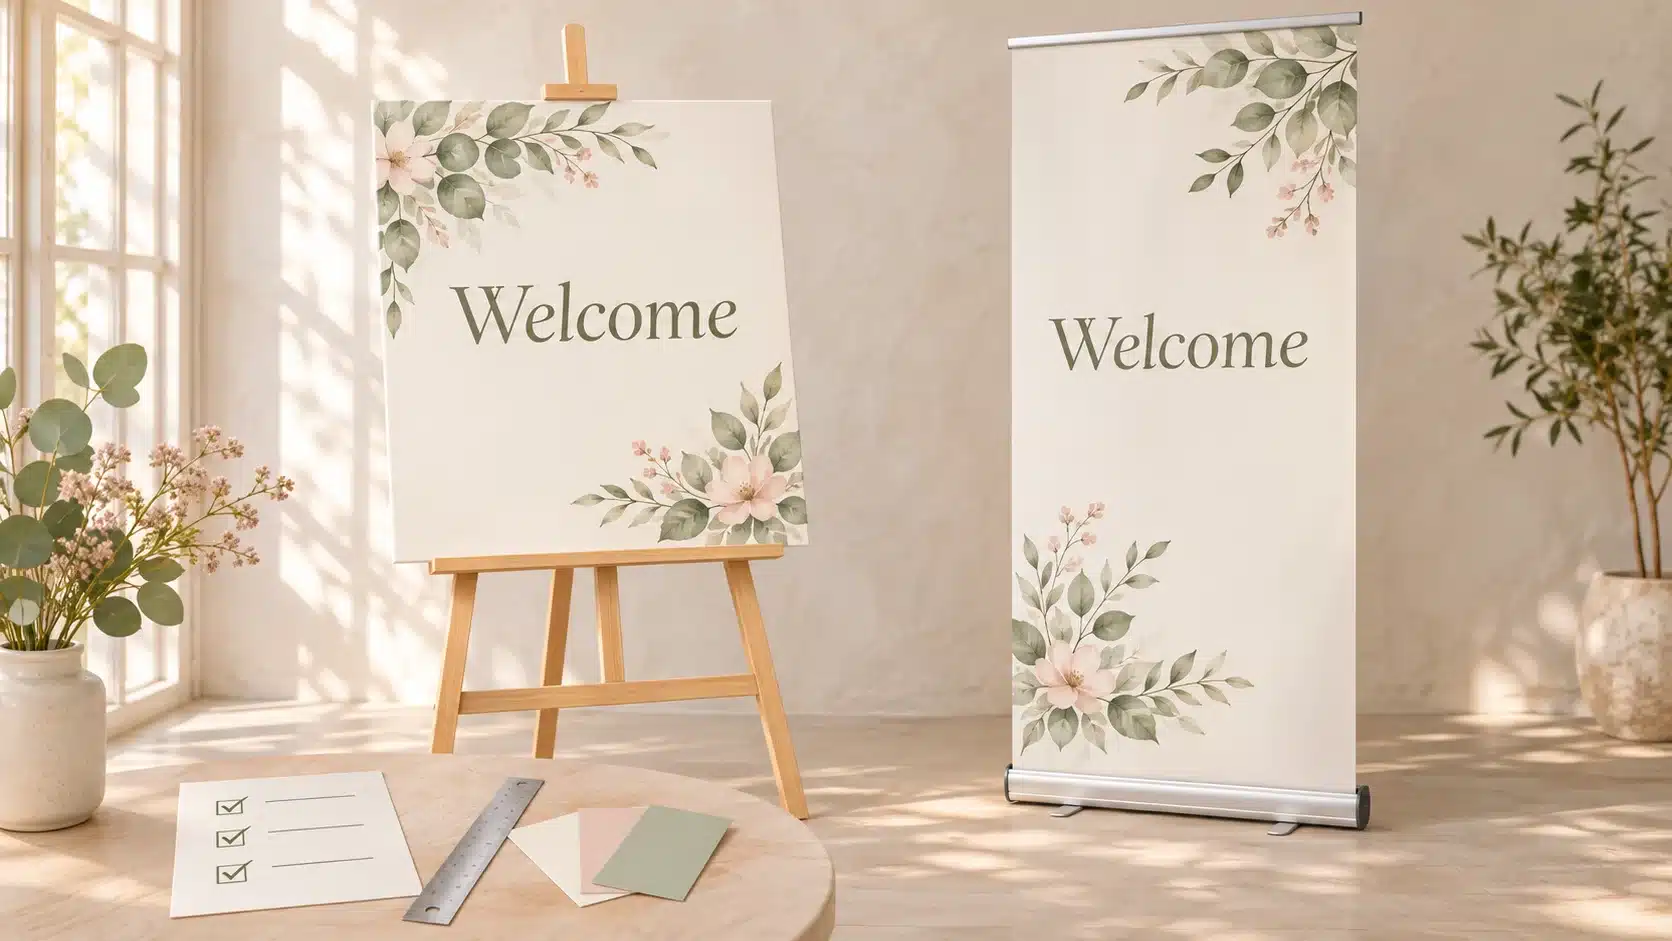
These portrait sizes are starting points to discuss, not a rule based on guest count. Dimensions below are width × height; the centimetres are direct conversions.
| Planning size | Metric equivalent | A practical use to discuss |
|---|---|---|
| 18 × 24 in | 45.72 × 60.96 cm | A compact welcome board beside a guestbook or at a close-view entrance. |
| 24 × 36 in 2 × 3 ft | 60.96 × 91.44 cm | A larger easel board with room for names, a short welcome and artwork. |
| 36 × 72 in 3 × 6 ft | 91.44 × 182.88 cm | A tall display where the floor space and supporting hardware allow it. |
For real size references, VistaPrint India lists 18 × 24 inch foam boards, Printo lists 24 × 36 inch posters, and VistaPrint India lists 3 × 6 foot standees. These are product examples, not universal specifications. Confirm the chosen material and size with your own printer.
Use the production template rather than the sales label
A nominal size can differ from the file dimensions. For example, VistaPrint’s standee page labels one option “2.5 feet × 6 feet” but gives its trim size as 77 × 185 cm. Its FAQ also describes areas hidden by the mechanism. Ask for the template for the exact model, including the visible area and any top or bottom allowance.
Before committing, mark the proposed outline on a wall or make a paper mockup. Step back to the distance guests will approach from. If the names look small, simplify the wording or enlarge them before increasing the whole board.
2 Check the artwork proportions
An 18 × 24 inch board has a 3:4 aspect ratio. A 24 × 36 inch board is 2:3. They are different shapes, so resizing one to the other needs a layout adjustment, cropping or extra background. Stretching the artwork can distort faces, lettering and decorative motifs.
Give the designer the final width, height, units and orientation. Say whether the dimensions describe the finished board, the visible display area or the full printer template. An invitation image made for a phone should not be assumed to suit a large printed sign.
3 Confirm the printer requirements
Ask the printer to confirm these points before the artwork is finalised. If the answer is “standard size”, request the measurements or template in writing.
- Finished size and shape. Confirm width × height, portrait or landscape, and any arch or custom cut. Ask whether the artwork is supplied at full size or an agreed scale.
- Material and display. Name the actual material, thickness and finish, rather than relying on “board”. Confirm whether it is printed directly or mounted, whether one or both sides are needed, and who supplies the easel or stand.
- Bleed and safe area. Bleed extends the background past the cut edge. Keep names, faces and other essential content inside the printer’s safe area. Ask for the required amount on each side and any extra allowance for a frame, clamp, base or cutting shape.
VistaPrint’s bleed and trim illustration is a useful visual reference. Its measurements apply to its own products; use the instructions for your specific job.
- File format and fonts. Ask which PDF preset or other file type is accepted, whether crop marks are wanted, and how fonts should be handled. Send the artwork file, not an easel mockup or a screenshot. Adobe’s print-PDF guidance explains preflight checks and using the printer’s specified settings.
- Colour and image detail. Ask for the colour mode and profile, plus the required image resolution at the final printed size. Some workflows request CMYK and others accept RGB; Adobe’s export guide provides both options. Check a material sample or proof if colour matching matters.
Check photos at the size they will print
Use the original photo rather than a screenshot or a saved chat preview. As a calculation example, if a printer requests a full 24 × 36 inch raster image at 150 pixels per inch, it needs 3,600 × 5,400 pixels. That is not a resolution recommendation for every board. Vector text and shapes do not need to be converted into one large image.
- Proof, cost and timing. Confirm the total including printing, cutting, mounting, hardware, delivery and taxes. Ask when the proof and finished display will be ready, who checks the file, and what happens if the print differs from the approved specification.
4 Send a clear print brief
Copy this message, replace the brackets and send it to your printer before placing the print order.
Hello, I need a wedding welcome display for [event date] at [venue/city]. The planned finished size is [width × height, units], in [portrait/landscape] orientation. It will be used [indoors/outdoors] with [easel/frame/retractable stand].
Please confirm the suitable material, thickness and finish; the exact artwork template; bleed and safe margins; any hidden fitting areas; and your required file format, colour settings and image resolution. Please also confirm the full price, whether the stand is included, proof arrangements, and the collection or delivery date. I will send the final artwork after these details are agreed.
For the designer, add the approved names and wording, event details, any original photos, and the printer’s template. Keep the welcome message short enough to read on arrival.
A simple welcome message
Welcome to the wedding of
[Name] and [Name]
[Day Month Year]
Add a function name such as “Wedding Reception” if it helps guests identify the event. If you need directions, use a separate sign or a clearly tested arrow rather than squeezing them into decorative text.
5 Review the final file and choose a design
Check the exact file that will go to print. Confirm names, language, date, size and orientation. Look for clipped lettering, missing fonts, low-detail photos and text too close to an edge. Our wedding invitation proofreading checklist covers the name and event-detail checks that also apply here.
Ask for a full-size sample of the smallest text or a detailed photo area when practical. A scaled-down print helps check the layout, but it cannot prove that the finished lettering will be readable. Send the original file as a document or download link, and ask the printer to confirm the received filename and dimensions.
Two real 3VIDEO design references
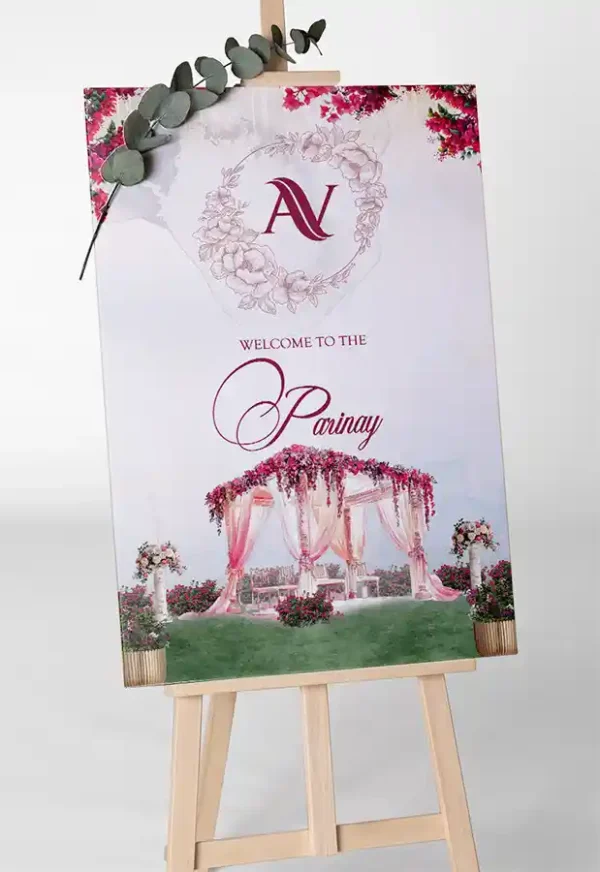
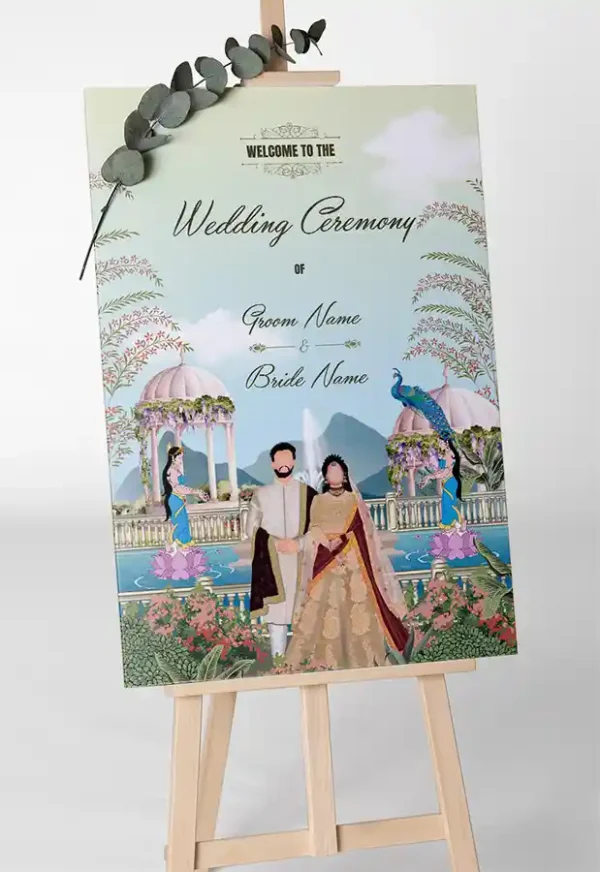
Left: Royal Mandap Wedding Entrance Standee, with mandap artwork and a monogram-led layout. Right: Elegant Couple Wedding Welcome Standee, with a couple illustration and space for the names. Both are existing 3VIDEO product mockups, not photographs of delivered boards. The displayed sample text and proportions are not your final print specification.
Once the printer confirms the requirements, browse our wedding standee designs and share the exact size and template before ordering. The listed products provide a print-ready PDF digital design file. Check any extra format, editable-source request and delivery time with 3VIDEO in advance.